Design guided routes through your site. Add waypoints, media, policies, and accessibility details. Set whether trails progress automatically or manually and publish them for app users.
- Prior to creating a trail, trail ratings should be created as part of the trail setup process.
- These ratings serve the purpose of displaying additional information on the type of trail. This could be if the trail is considered to be difficult compared to others as a form of cautionary information for audience members.
- Add trail rating information to be displayed in the audience app by giving the trail rating a name, a short description, and choosing a colour to represent that trail rating. Add as many trail ratings as required.
- To create a trail, select an existing site, where the trail is to be based. Any exhibits attached to this site will be available to add to this trail.
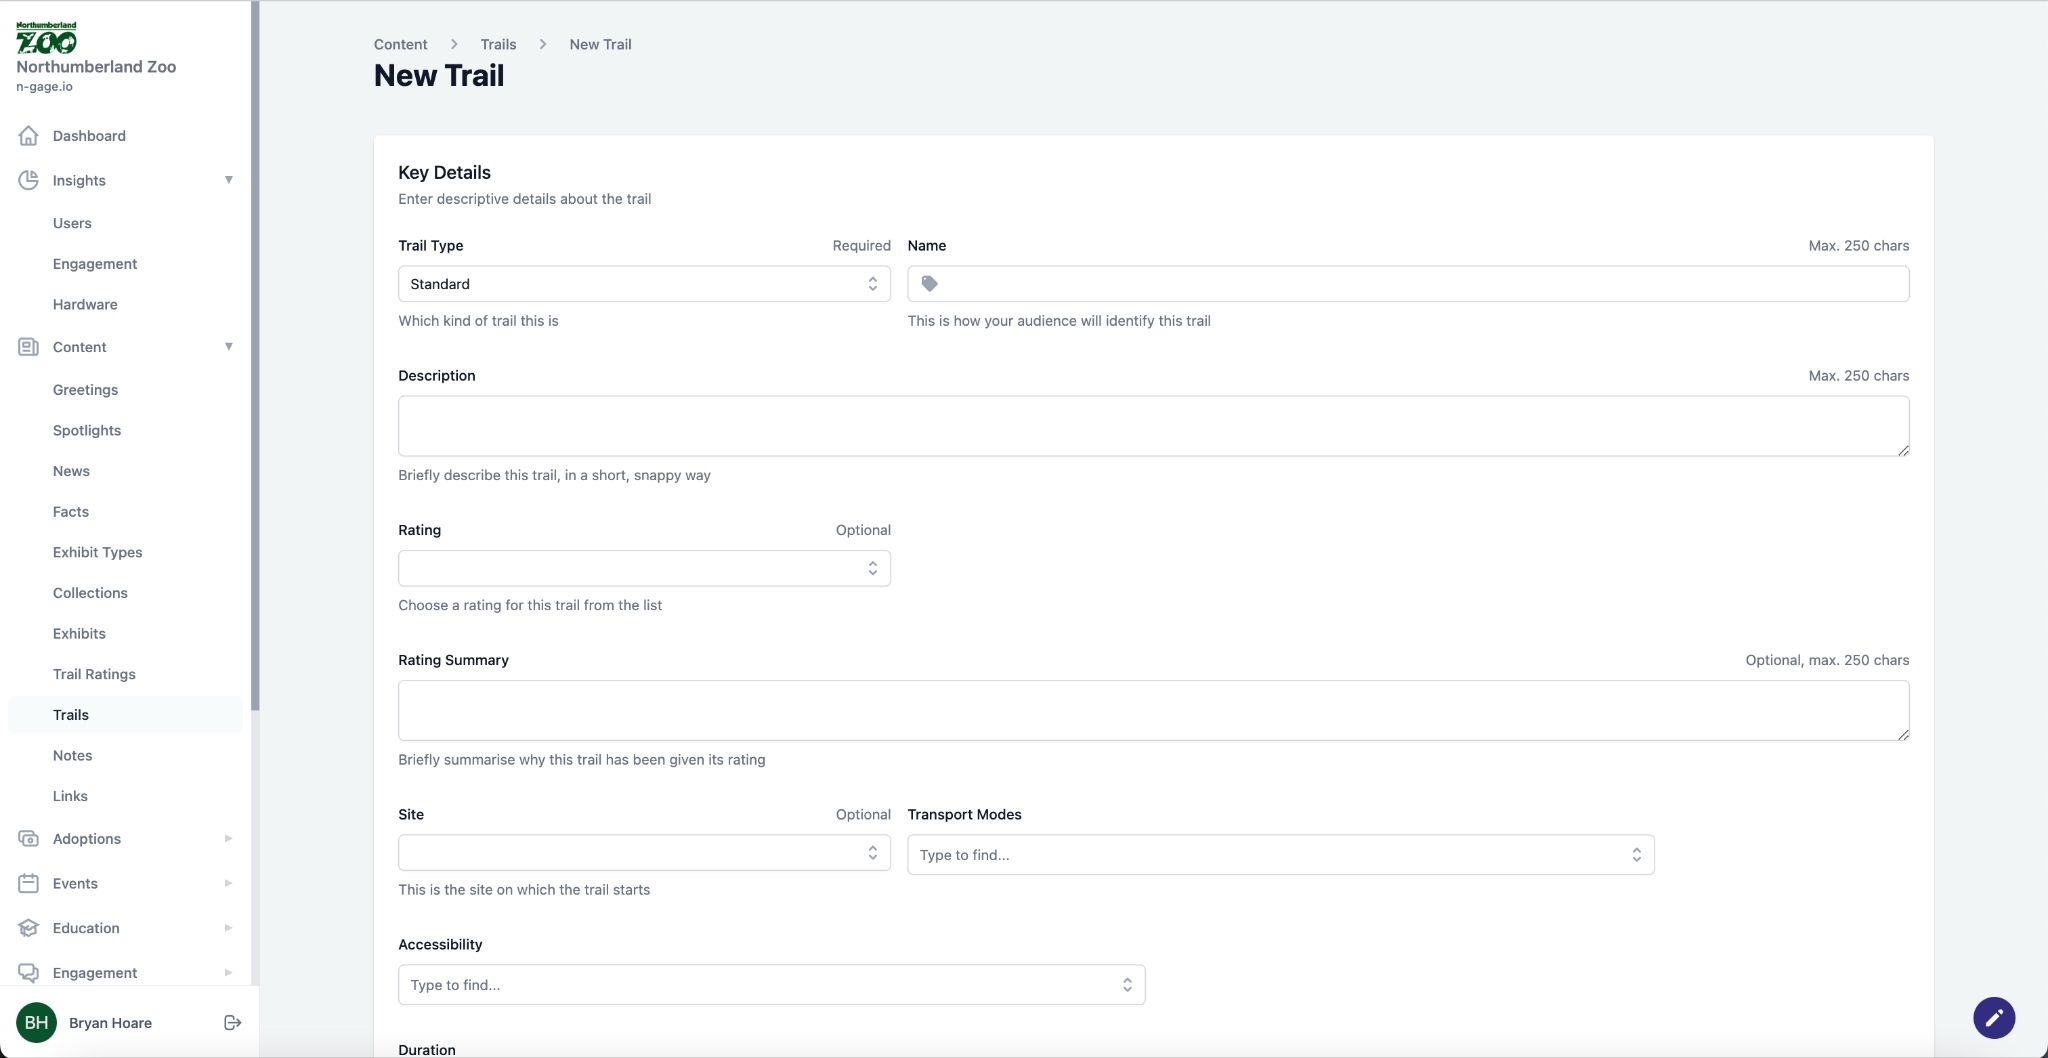
- Choose a trail type and add trail information to be displayed in the audience app Trail types now also include golf, with others to follow..
- An existing trail rating can be attached to the trail alongside a trail rating summary that will be displayed in the trail information.
- Select applicable methods of transportation that apply to the trail as well as any required accessibility criteria, all of which are displayed in-app.
- Add any applicable trail policies by selecting the ‘add’ call to action within the policies section, then enter the related URL and policy name.
- Add any requirements that audience members should follow by selecting the ‘add’ call to action within the requirements section, then enter a brief description of the requirement to be displayed in-app.
- Add any advisories that audience members should adhere to by selecting the ‘add’ call to action within the advisories section, then enter a description of the advisory to be displayed in-app as well as any related media which could include both audio and video.
- Add any additional information within the information section following the same process, also additional media can be added in this section once uploaded.
- Plot the location of the waypoints on the map using the position icon on the top left of the map.
- Individual advisories can also be added to each waypoint as required.
- After mapping out each waypoint, a window below the map will appear where this waypoints content can be created and managed.
- Add waypoint positional info such as waypoint elevation and distance from the previous waypoint. This will be taken into account when displaying trail distance in-app. Add existing content to be associated with each waypoint
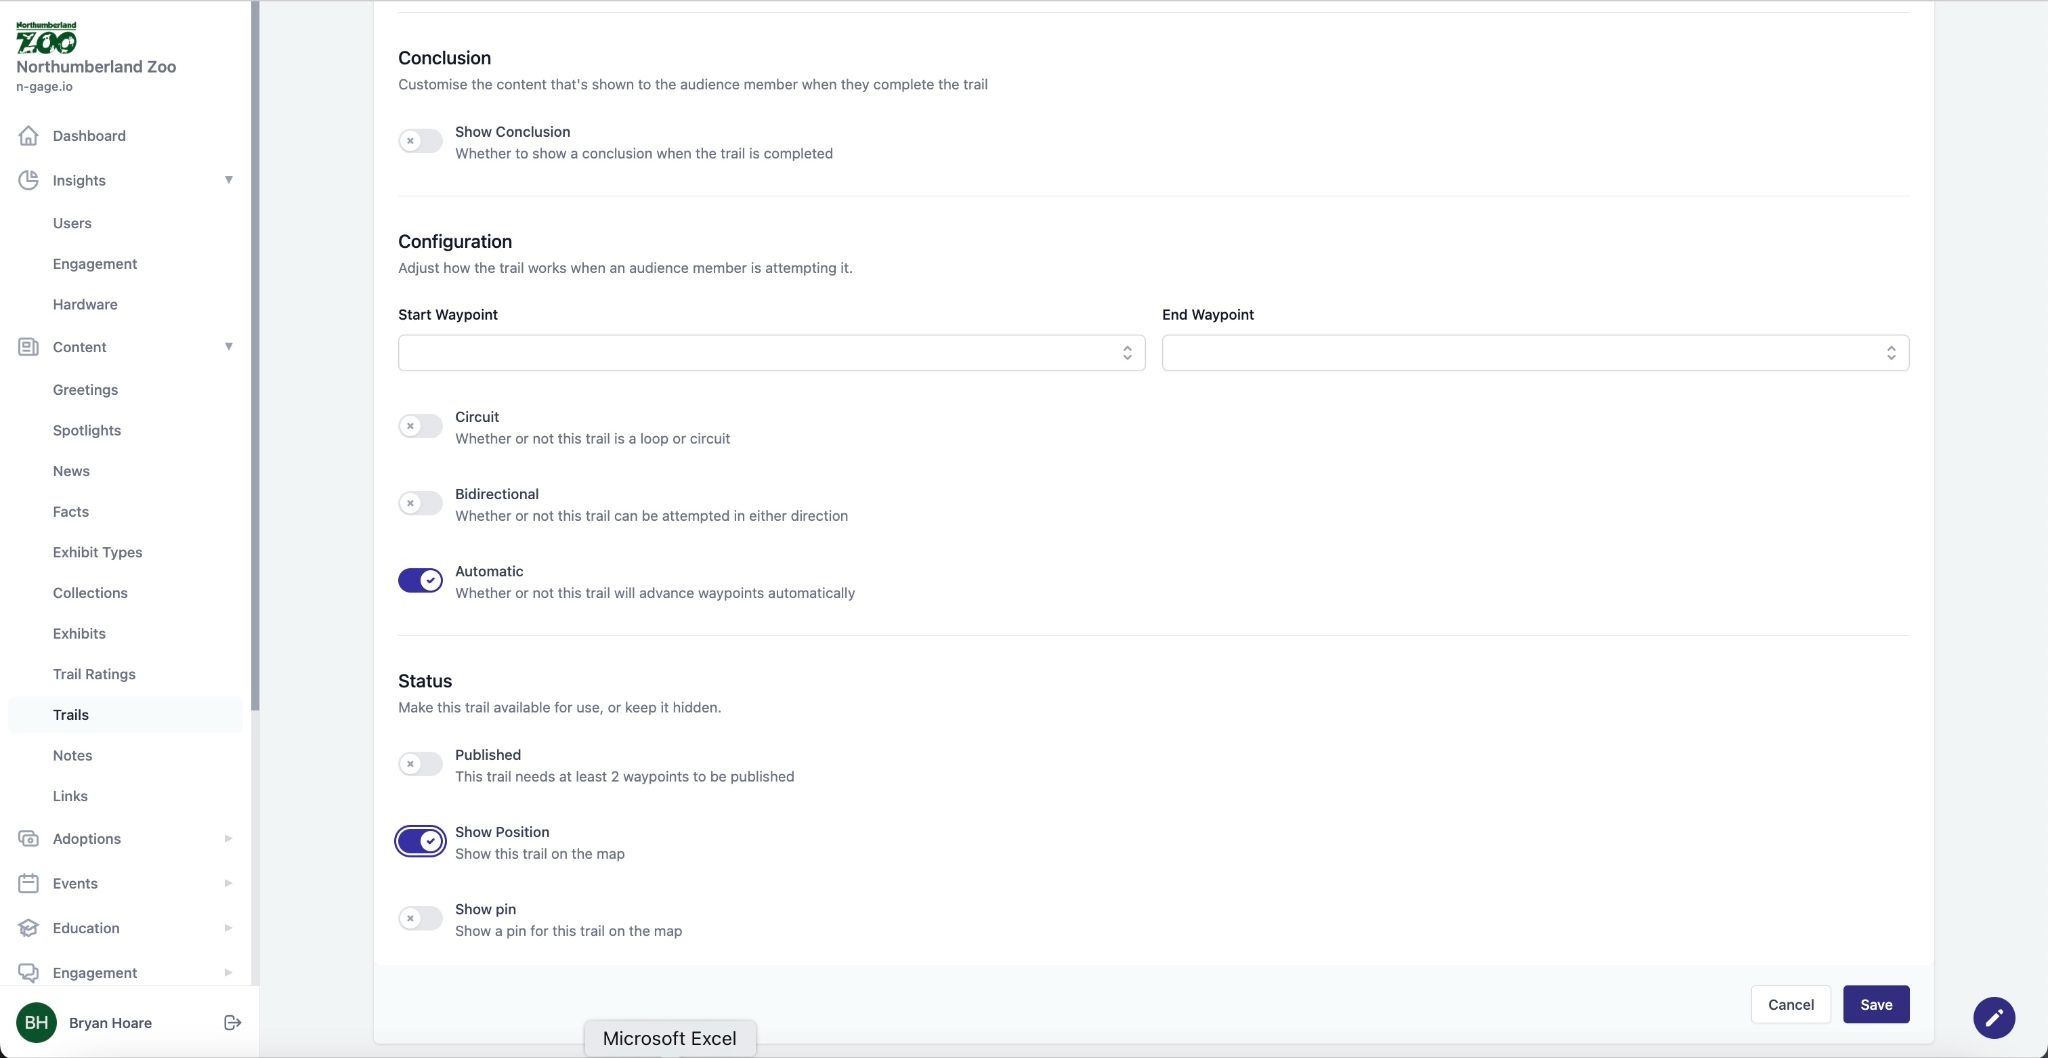
- Select how the trail is configured: automatic - trail will auto progress upon entering a new waypoint, or manual - app users forward each step themselves. Choose the trail direction ie. bidirectional - trail can be attempted in either direction or circuit - trail is a loop or circuit.
- A trail conclusion screen can be added for extra information and trails can set
to be published or unpublished which defines if it will be visible and accessible in-app. Multiple trails can be reordered to display by priority in-app. Trail publishing, reordering and featuring, can be carried out directly from the trails list page. Use show position/pin to display the trail on the main overview map.